Pages

Thursday, 6 December 2012

Skor Bar Cookies


“Look what I found at Dollarama, Honey!” he exclaimed, “And they were only fifty cents each!  I bought all they had!”

My first thought was “Thank goodness they were almost out of stock!”  (Imagine if there’d been cases and cases of them.)

My second was “What on earth am I going to do with nine Skor bars?”


The intention behind the purchase was kind, though.  He knows I enjoy chocolate and he'd used his little bit of spending money to buy me a treat.  I gave him a big hug and a "thank you", then put the Skor bars in the freezer where they'd be out of sight so I wouldn't be tempted to nibble on them.

The Skor bars remained in the freezer for quite some time but eventually I decided to do something with them:  I smashed them to pieces while they were still frozen and brittle, then mixed them into cookie dough.  

Since we have lots of walnuts from our tree this year, I put some of them in the cookies too.

Voila!  A whole new recipe to add to the Christmas baking list.  :)  

To make Skor bar cookies you’ll need:


  • 1 cup butter
  • 3/4 cup light brown sugar
  • 3/4 cup granulated sugar
  • 2 eggs
  • 1 teaspoon vanilla extract
  • 2-1/4 cups flour
  • 1 teaspoon baking soda
  • 1-1/4 teaspoons salt
  • 12 ounces of broken Skor bar pieces or 1-1/3 cup Skor baking chips and 2/3 cup semi sweet chocolate chips
  • 1 cup chopped walnuts


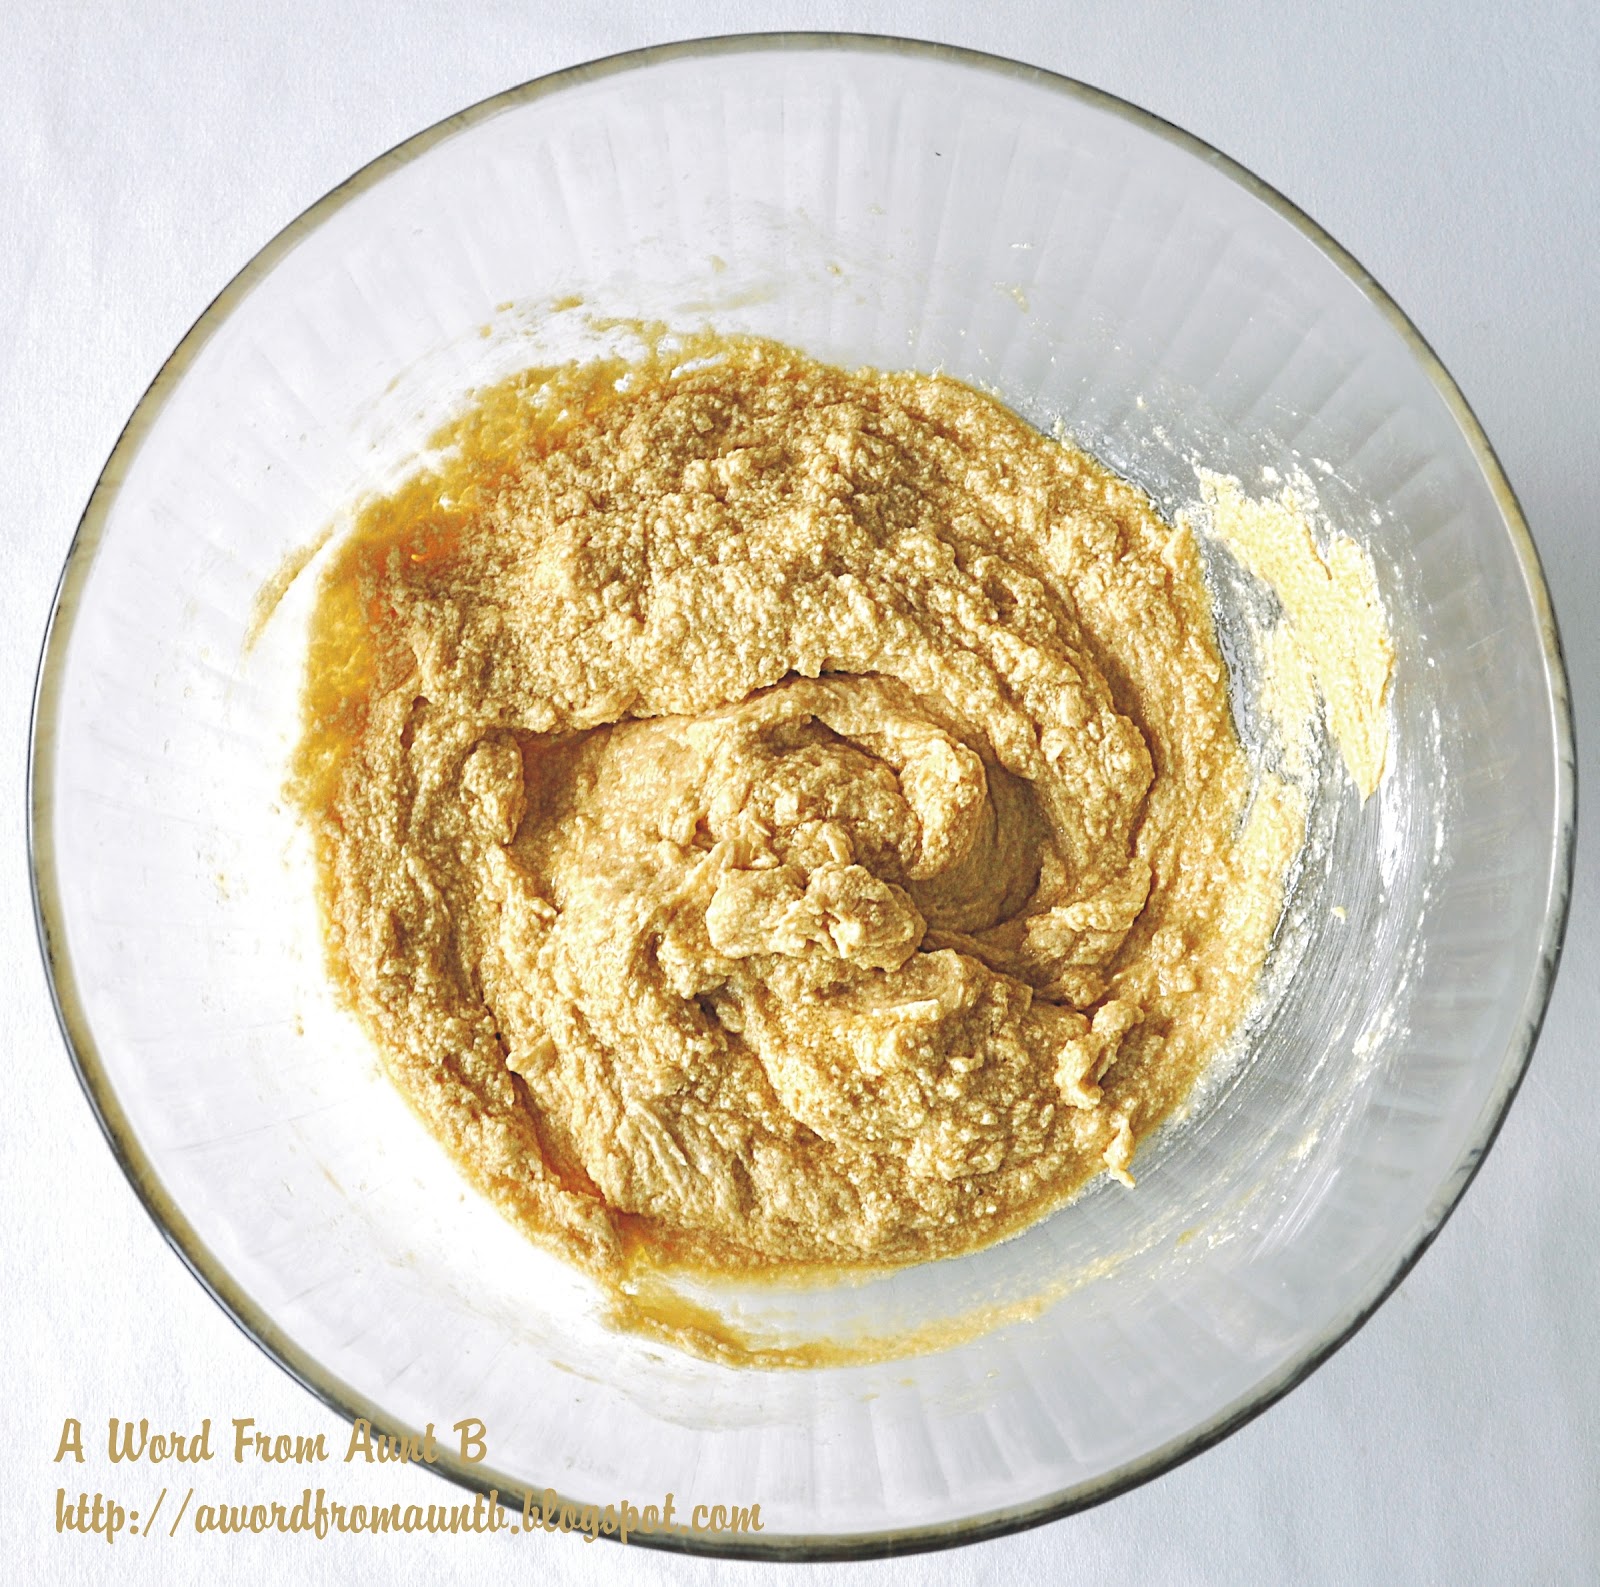
Cream together the butter, brown sugar, and granulated sugar.

Break the eggs into a small bowl and add the vanilla.  Beat the two together.

Add the egg mixture into the butter and sugar mixture, and stir until the ingredients are well combined.


In a separate bowl, whisk together the flour, baking soda and salt.

Add the flour mixture to the butter mixture and stir them together to make a stiff dough.


Mix in the Skor bar pieces (or Skor chips and chocolate chips).


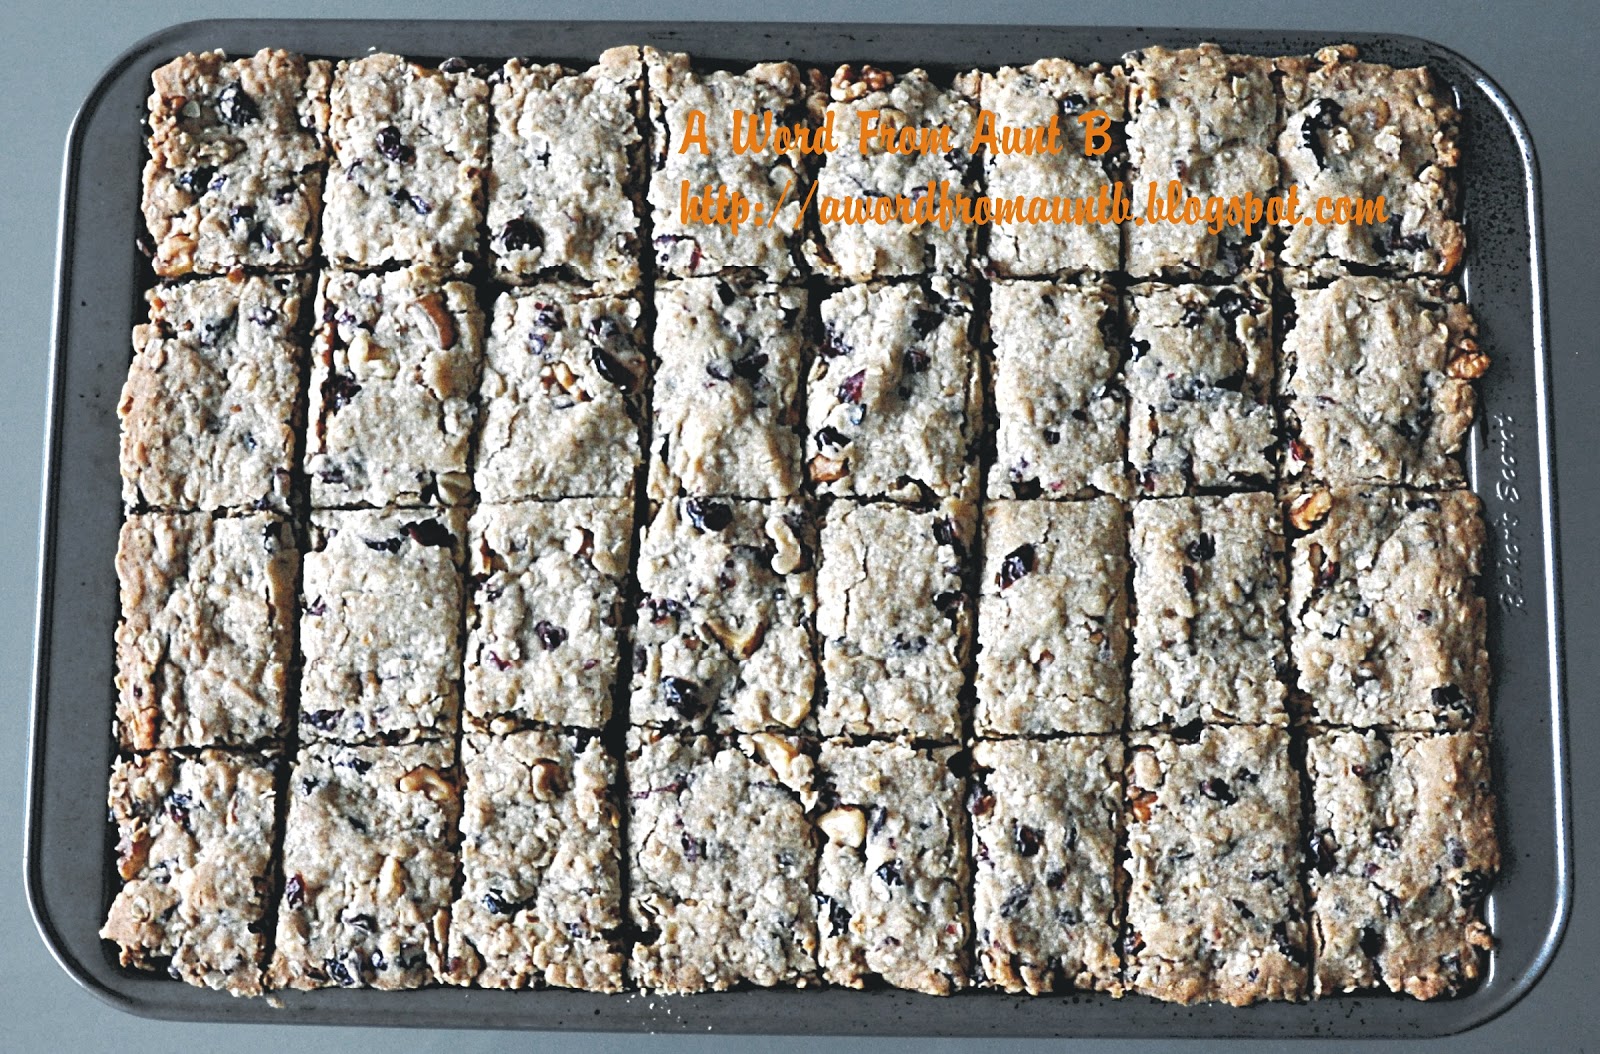
Use a spoon to scoop and drop 2-inch diameter portions of cookie dough onto parchment lined baking sheets, spacing the cookies about 2 inches apart.


Bake the cookies in a 350F oven for 12 to 14 minutes, until they are still pale in colour but lightly browned around the edges.  Allow the cookies to cool completely before removing them from the cookie sheet.


Store the cooled cookies in an airtight container with waxed paper between each layer.  

Thanks honey!  The Skor bars turned out to be a really good idea.  :)  

I'm going to enjoy a couple of these with a nice, cold glass of milk.

Wednesday, 5 December 2012

Walnut and White Cheddar Biscuits


Shortly after Wolfgang Puck opened Spago, I read an article about his innovative cooking style.  His wood fired white pizza made with bacon, walnuts and white cheddar was cited as an example.  It's not an earth shaking dish by today's sophisticated standards, but back in the early 80's that pizza was really big doings:  It was cooked in a wood fired oven!  It had no tomato sauce on it! It combined cheese and walnuts and bacon all in one dish! My goodness!!

That cheddar-walnut-bacon flavour combination caught my imagination and stuck in my mind long after most of the article was forgotten.  I wanted to give it a try but, when I ran the idea past my husband, he was less than enthusiastic.  Who on earth ate cheese and walnuts together?  Or walnuts and bacon?  

I ran with it anyway.  I made my own version of that pizza and, despite my guy's initial reservations, it was a big hit with both of us.  We've been fans of that flavour profile ever since.

Why am I bringing it up now?  

Well, to be honest, I get overwhelmed by all the sweets at Christmastime.  I mean, I enjoy them too, and love to bake cookies and cakes and pies, but all that sugar can be cloying. I crave salty, savoury flavours to counterbalance the sweetness.

I wanted, too, to offer some recipes here that could be prepared ahead, frozen, and then used to throw together a quick meal on a rushed morning or busy December evening.  

Biscuits are quick and easy and they freeze well, so why not share a biscuit recipe?  And suggestions on how to use it to form the basis of a simple meal or two?

So here we are.  

To make walnut and white cheddar biscuits, you'll need:


4 cups all purpose flour (or use half all purpose and half whole wheat)
2 Tablespoons baking powder
1 teaspoon salt
1/4 cup cold butter, cut into slices
1 cup shredded, extra old, white cheddar
1 cup finely chopped walnuts
1-1/2 cups milk, plus a little more for brushing on the biscuit tops

Whisk the flour, baking powder, and salt together in a large bowl.

Add in the butter slices.  Use your fingers to work the butter into the flour, rubbing the butter between your forefinger and thumb so that it flattens, picks up some of the butter, and forms corn flake sized pieces.  

The butter should be well distributed through the flour mixture.  If it's not, give the bowl a stir to mix it through.

Add in the cheddar and walnuts, gently tossing them through the flour with your fingers so that they are lightly coated with flour.


Make a well in the center of the bowl and add in the milk.  Stir it in until most of the flour has been picked up.  You should have a dry, stiff dough.


Turn the contents of the bowl out onto a board and knead the dough just until it holds together.  There will be a few crumbs on the board but all of the flour should be absorbed.


Use a rolling pin or your hands to flatten the dough into a rough rectangle about an inch thick.

Divide the dough into portions.  (I make six very large biscuits but do feel free to cut it into whatever portions work best for you.)

Place the biscuits onto a parchment lined baking sheet. (You can press the dough up against a flat edge to square the biscuits off if you want to, but I usually don't worry about it too much.) 


Brush the top of each biscuit with a little milk.

Bake the biscuits on the middle rack of a 400F oven until cooked through and golden brown.  


This takes 15 to 20 minutes in my oven.  I'd start checking them at 15.

These biscuits are best served warm but can be kept for several days in an airtight container or frozen for up to six months.  

To reheat them, wrap them in a damp kitchen towel and put them in a 350F oven for 5 to 7 minutes.

We love to use walnut and white cheddar biscuits to make bacon sandwiches.  If you're feeding a crowd, you can cook the bacon all at once in the oven, making this a quick, fuss-free meal.  It would be great for breakfast or, served with a salad on the side, as a quick supper.

Walnut and white cheddar biscuits also pair well with pepper jelly or with savoury cranberry relish.  Add turkey and some fresh spinach to make a perfect day-after-Christmas sandwich lunch.
_____________________________________

Related post:  My blogging friend Canadian Budget Binder made crockpot pulled pork with homemade barbecue sauce and served it over these biscuits.  Sounds mighty good to me!  

Tuesday, 4 December 2012

Cranberry Orange Bran Muffins


I bought a 12 pound case of California navel oranges recently, for $7.98.  In our area, that's a very good price!  Citrus fruit is a tremenduous value during the winter months.  

Now that I have my oranges I'm looking for ways to use them.  

Since oranges and cranberries play so well together, I decided to combine them in a breakfast muffin.  Muffins are always popular at our house and cranberry orange bran muffins would be a good make-ahead option for Christmas breakfast.  

The muffins turned out very well.  They're moist, not overly sweet, and they have a pleasant texture.

To make Cranberry Orange Bran Muffins, you'll need:


  • 1 medium-sized navel orange
  • about 2/3 cup of milk
  • 1-1/2 cups wheat bran
  • 1 egg
  • 1/3 cup vegetable oil (use something with a neutral flavour, like canola or sunflower oil)
  • 2/3 cup firmly packed light brown sugar
  • 1 cup all purpose flour
  • 1 teaspoon baking soda
  • 1 teaspoon baking powder
  • 1/2 teaspoon salt
  • 1/2 cup coarsely chopped cranberries


Begin by zesting the orange.  

Squeeze the orange's juice into a measuring cup and add enough milk to make one cup of liquid.

Place the bran in a large mixing bowl and add in the juice and milk mixture.  Let it stand for about 5 minutes.

Beat the egg and add it to the bran mixture, along with the orange zest, oil, and brown sugar.  Mix until the ingredients are well combined.


In a separate bowl, whisk together the flour, baking soda, baking powder, and salt.

Add in the cranberries and mix them through until they are lightly coated with flour.


Add the flour mixture to the bran mixture and stir the batter just until it's combined.  


Butter or oil a muffin tin and portion the batter into the tin.  I made nine large muffins from this recipe.

If you have empty muffin cups in your tin, pour a little water into each one.  This will help to distribute the heat more evenly and will prevent the pan from warping.


Bake the muffins on the middle rack of a 350F oven for 20 to 25 minutes, rotating the pan halfway through the cooking time.  

Test for doneness by pressing lightly on the top center of one of the muffins.  It should spring back.


Allow the muffins to cool in the pan for 10 minutes after removing them from the oven, then transfer them to a wire rack to cool completely.

Store the cooled muffins in an airtight container.  If you'll not be using them within a few days, store the container in the freezer.

Monday, 3 December 2012

Brown Sugar Pound Cake


Anna Olson made her debut on Food Network Canada with a show called "Sugar."  I liked it a lot and watched it regularly, seldom missing an episode.  I'd even take care to record them if I knew I might be away.

This recipe comes from that series but it's not Anna Olson or the show that I think of when I make it, it's my friend Deirdre.  

Deirdre was my husband's next-door neighbour while he was growing up, and a good friend to my mother-in-law for most of her life.  

When my mother-in-law passed away, Dee stayed in touch with us and I grew to love her very much.  She was a retired teacher with a tremenduous interest in the world around her.  I could count on her for good conversation, firm opinions, and a complete lack of sugar coating around any topic of discussion.  She remained sharp witted and engaging right up until her death, at the age of eighty-eight, last December.

Like many women who had lived through the Great Depression and World War II, Dee was very frugal.  She minded every penny carefully and, despite having lost everything in a mid-life divorce, retired owning her own home and with money to provide for her daughters.  This was entirely due to hard work and careful management on her part.   

For most of her life Dee gardened daily, read prodigiously, kept a spotless house, and did lots of home preserving.  She taught me a lot about homemaking over the years, and much of what I know about managing my resources I learned from her.

When she reached her seventies, ill health began to prevent my friend from doing much of the gardening, canning, and cooking she had done in her younger years and I found an opportunity to repay her - at least in some small way - for the many things she'd taught me.  Although we were not in the habit of exchanging birthday or Christmas gifts I sent Dee a hamper of jams, home canning, and Christmas baking each December.  

Dee loved this brown sugar pound cake.  The first time I included it in her hamper, she phoned me and asked me for the recipe.  Once she knew what was in the cake, she chided me for the expense involved in making it...but never once did she tell me not to send it!  It was the first thing she looked for upon opening her hamper.

Each year Dee would cut her cake up into small portions, wrap it well and put it in her freezer.  She made that cake last!  She meted it out in tiny portions and you knew you were very high on her list of special people if she shared a piece with you.

Although I can no longer share it with Dee, I still like to share this lovely cake with friends and visitors so the batch given here is double the original recipe.  It is a brute, making a huge quantity of batter, so do feel free to halve the quantities given.  You'll still get an excellent result.

To make brown sugar pound cake, you'll need:


  • 1 pound unsalted butter, at room temperature
  • 4 cups firmly packed light brown sugar
  • 2 cups granulated sugar
  • 4 teaspoons vanilla extract
  • 12 large eggs, at room temperature
  • 1-500 ml container (2 cups) sour cream
  • 1/2 teaspoon baking soda
  • 6 cups of pastry flour, measured and then sifted
  • 1 teaspoon salt

Cream the butter and sugars together.  (I do this in my KitchenAid with a paddle attachment but an electric hand mixer will work too.)


With the mixer running at slow speed, add in the vanilla, and then the eggs - one at a time - mixing, and scraping down the sides of the bowl often, until you have a smooth batter.

Transfer the batter to a very large mixing bowl.  From this point on, you'll be mixing by hand.


Stir the baking soda into the sour cream (you can do this right in the container) and let it sit for about 5 minutes.  The sour cream will increase in volume.


Whisk the salt through the flour so that the two are well combined.

Add 1/3 of the flour mixture to the cake batter.  Stir just until it has been absorbed.

Add in 1/2 of the sour cream and mix it in just until it's incorporated.

Repeat these steps again, ending with an addition of the final portion of flour.  You want the flour to be completely absorbed in the batter but try not to over mix.  The less mixing you do, the more tender your finished cake will be.


Oil two non-stick bundt pans or butter and flour two regular bundt pans.  Don't omit this step even if your pans are brand new and non-stick.  This cake will stick in the pans if you don't prepare them properly.

Preheat your oven to 275F.

Portion the batter into the two prepared cake pans.  Each pan should be about 3/4 full.


Place the pans on the middle rack of your preheated oven and bake them for 20 minutes.

Increase the heat to 325F and bake the cakes about 50 minutes more, rotating them in the oven halfway through the cooking time.  

The cakes are done when they've risen and turned golden brown.  A cake tester inserted into the thickest portion of the cake should come out clean.


If your cakes are still not done at the 50 minute mark, return them to the oven, turn off the heat and let them finish baking in the residual heat remaining in the oven.

Once the cakes are baked, let them cool completely before turning them out of the pans.


This cake is wonderful served plain but can be garnished with fruit and whipped cream or toasted under the broiler and served with ice cream.  It keeps quite well in an airtight container and freezes very well if double wrapped, first in waxed paper and then in foil.

Sunday, 2 December 2012

White Christmas Oatmeal Bars


Every family has one or two go-to recipes that they use again and again, adapting them to the occasion as they go along.  My grandma's oatmeal bar recipe is one of those for me, and it forms the basis for this recipe.

The original oatmeal bar recipe was actually the crust recipe for a date square.  My grandpa was a plain cookin' guy, though, and didn't like the filling so ever thereafter my grandma made only the crust part of the recipe.  Even when completely unadorned it's tasty and pleasing, perhaps because of its very simplicity.  

To make this bar, I used Grandma's recipe and mixed in chopped dried cranberries and walnuts.  Once the bars were cooked and cut I dipped the top of each one in melted white chocolate to give them a more "special occasion" finish.  They turned out great.

To make White Christmas Oatmeal Bars, you'll need:


1 cup butter
1 cup brown sugar
1/4 cup sour milk (put a teaspoon of lemon juice in your measuring cup and then top it up with regular milk)
1/2 teaspoon baking soda
2 cups rolled oats (not instant)
2 cups flour
1 cup coarsely chopped dried cranberries
1 cup coarsely chopped walnuts
6 ounces white chocolate

Cream together the butter and sugar until well mixed.  Stir in the milk.


Stir the rolled oats, flour, and baking soda together in a separate bowl.


Add the flour mixture into the butter mixture and stir until well combined.  The dough will be quite stiff.


Add in the walnuts and cranberries and use your hands to mix them through the dough.


Press the dough into an ungreased 10 x 14-inch rimmed jelly roll pan.


Place the pan on the middle rack of a 350F oven and bake it until it's lightly browned around the edges.  This takes 15 to 20 minutes in my oven.


Cut the baked dough into rectangles as soon as it comes out of the oven, while it's still hot, then allow the bars to rest in the pan until cooled completely.  


(It's a good thing the equal portion police don't visit my kitchen.  I'm not very good at cutting straight lines.  ;)

When the bars have cooled, chop the white chocolate coarsely and put it in a microwave-safe bowl.  Melt the chocolate in the microwave on the high power setting, in 30 second increments, stirring after each 30 seconds of cooking.  

At the end of the melting time, you'll find some lumps remaining in the chocolate but enough ambient heat to melt them by stirring the chocolate without returning the bowl to the microwave.  This final stirring will help temper the chocolate.  The melted chocolate should look like this:


Working one bar at a time, shake off any crumbs then dip the top of the bar into the chocolate.  

Place the dipped bars on a cookie sheet lined with waxed paper and allow the chocolate to set.  

Once the chocolate has set, store the bars in an airtight container, with a sheet of waxed paper between each layer.  They can be frozen if you want to keep them for more than a few days.


Saturday, 1 December 2012

Peanut Butter Cookies

I’m starting off my December baking list with peanut butter cookies.  I know that they’re not traditional Christmas cookies but, with the price of peanut butter these days, they are considered a real treat our house. 

I know, too, that the world probably doesn’t need another peanut butter cookie recipe.  Nearly every home baker already has one.  This recipe, though, is beloved by my grandchildren and they are all old enough now to bake on their own.  I’m writing this post especially for them.

My friend Anna Genoe taught me how to make thee cookies nearly three decades ago.  She’s a very good baker and these are still, after all these years, quite the best peanut butter cookies I’ve ever tasted. 

To make them, you’ll need:


  • 1 cup butter
  • 1 cup peanut butter
  • 1 cup light brown sugar, firmly packed
  • 1 cup white sugar
  • 2 eggs
  • 1 teaspoon vanilla extract
  • 2 cups flour
  • 2 teaspoons baking soda

Begin by creaming the butter, peanut butter, brown sugar, and white sugar together in a large mixing bowl.

Next crack your eggs into a small bowl, add in the vanilla and beat the two together until well combined.


Add the egg mixture into the peanut butter mixure and mix well.


Whisk the flour and baking soda together in a third bowl. 


When they are well combined, add them to the peanut butter mixture and stir them together until the flour is thoroughly incorporated.


Roll the cookie batter into 1-1/2  inch diameter balls and place them 2 inches apart on ungreased cookie sheets.  (I line mine with parchment for easier clean up but you can skip the paper if you want to.)

Flatten the cookies by pressing them crisscross with a fork or do as my friend Colleen Johnson taught me and flatten them with a lightly floured potato masher.


Bake the cookies on the middle rack of a 350F oven for 12-15 minutes, until lightly browned around the edges.


The cookies will still be very soft when they come out of the oven.  Allow them to rest for at least 5 minutes on the cookie sheet before transferring them to a sheet of kraft paper (or a flattened paper grocery bag) to cool.  The paper will absorb any excess oil on the bottoms of the cookies, yielding a crisper finished biscuit.

Store your peanut butter cookies in an airtight container.  They freeze very well but rarely last long enough at our house to make it to the freezer.