
I find it difficult to discard a good container. If it has a lid and looks like it might be of some use to me, I want to keep it. I've steeled myself to put empty plastic containers in the recycling bin but if a container is made of cardboard and has a good lid, I always want to save it and make something out of it.
My saved containers do tend to accumulate. Once every couple of months or so I have to strengthen my resolve, get ruthless, and discard all but the ones I can actually find a use for within the immediate future.
Last week, I was sorting through containers and noticed that I'd accumulated several small cardboard tea tins like this one.

The recess in the lid intrigued me. It seemed a good place to hold some sort of soft fabric finish. I decided that it would make an excellent base for a pin cushion and that, in turn, inspired me to make a little mending kit.
First I made the pin cushion. Because this is the sort of project I like to do while I'm watching TV, I chose to sew mine by hand. If you prefer to use a sewing machine, I'm sure it would be much faster.
I had some blue fabric in my scrap bin but most anything you like would work. It only takes a little fabric so you could even use something like an embroidered handkerchief. I see packages of them from time to time in the thrift store and they often have a lovely vintage charm to them.
I began by tracing two circles onto the wrong side of the fabric; one using the lid as a template and the other about twice as large. (I traced around an 8-ounce custard cup.) I cut around the circles leaving about a quarter inch of extra fabric. Then I stitched around the circles I'd traced, using a running stitch.
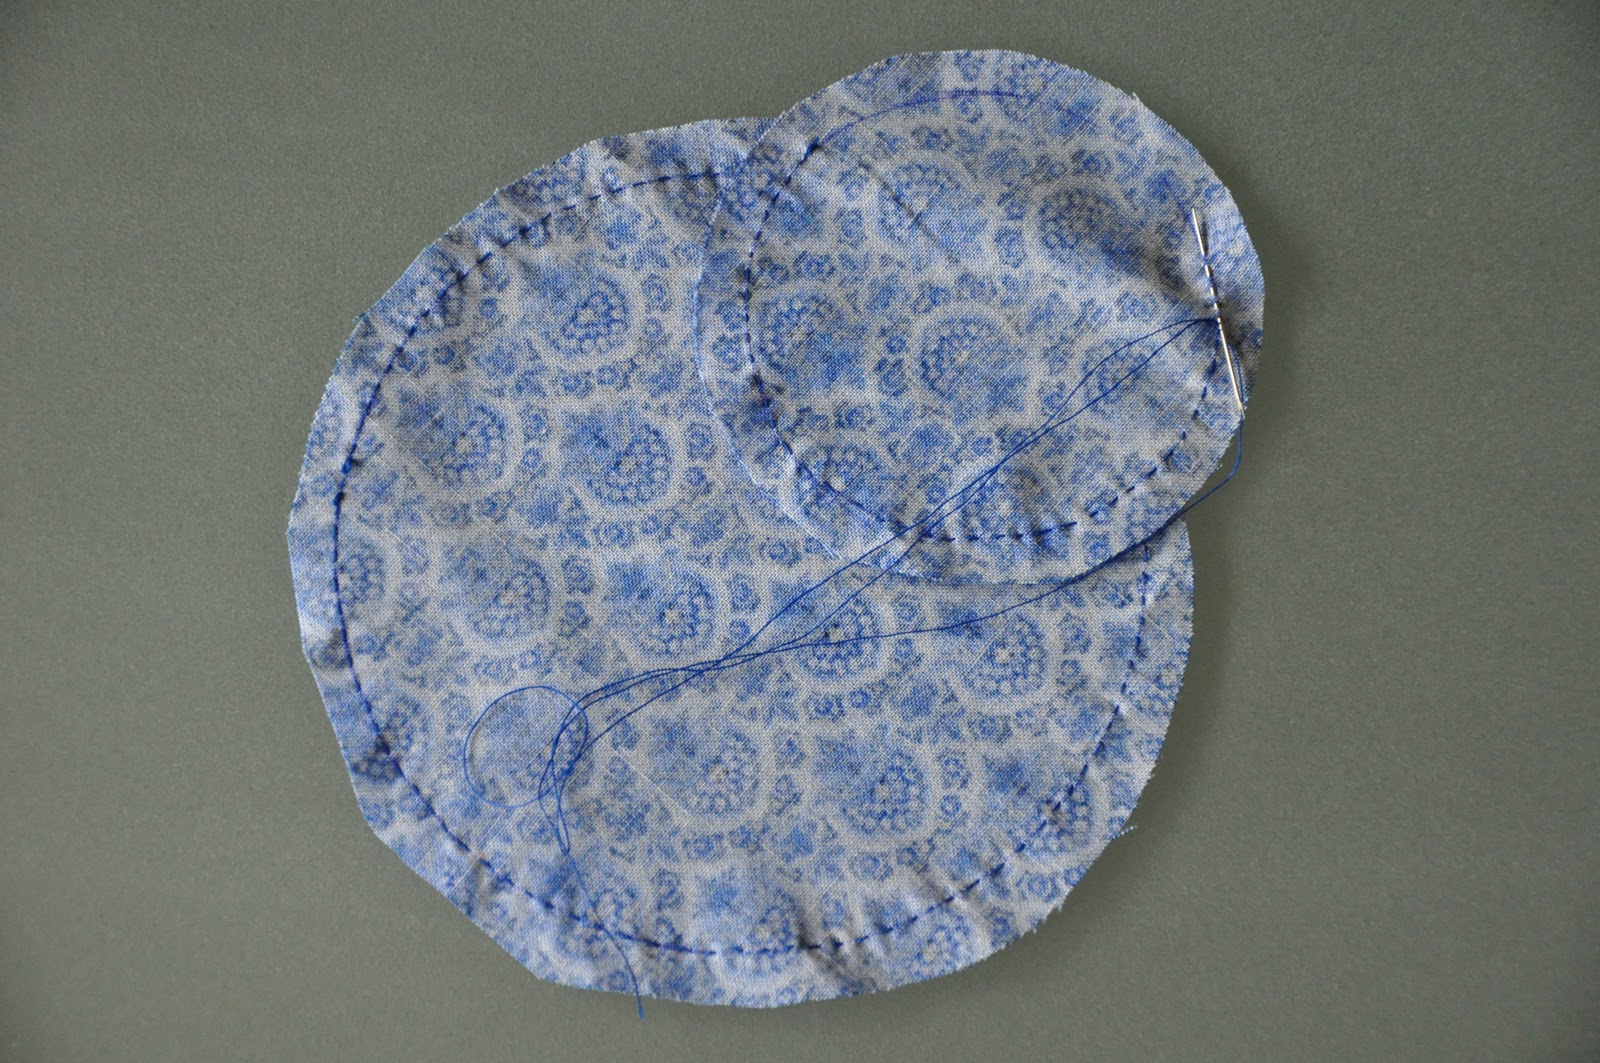
I folded the outside edge of the fabric in, along the outline I'd stitched, and pinned it in place. Then I stitched around the fabric again, close to the folded edge to make a hem.

When both circles were hemmed, I turned them wrong side to wrong side, with the right sides of both circles facing out, and pinned them together, matching the hemmed edges and gathering the extra fabric on the larger circle equally around its circumference.
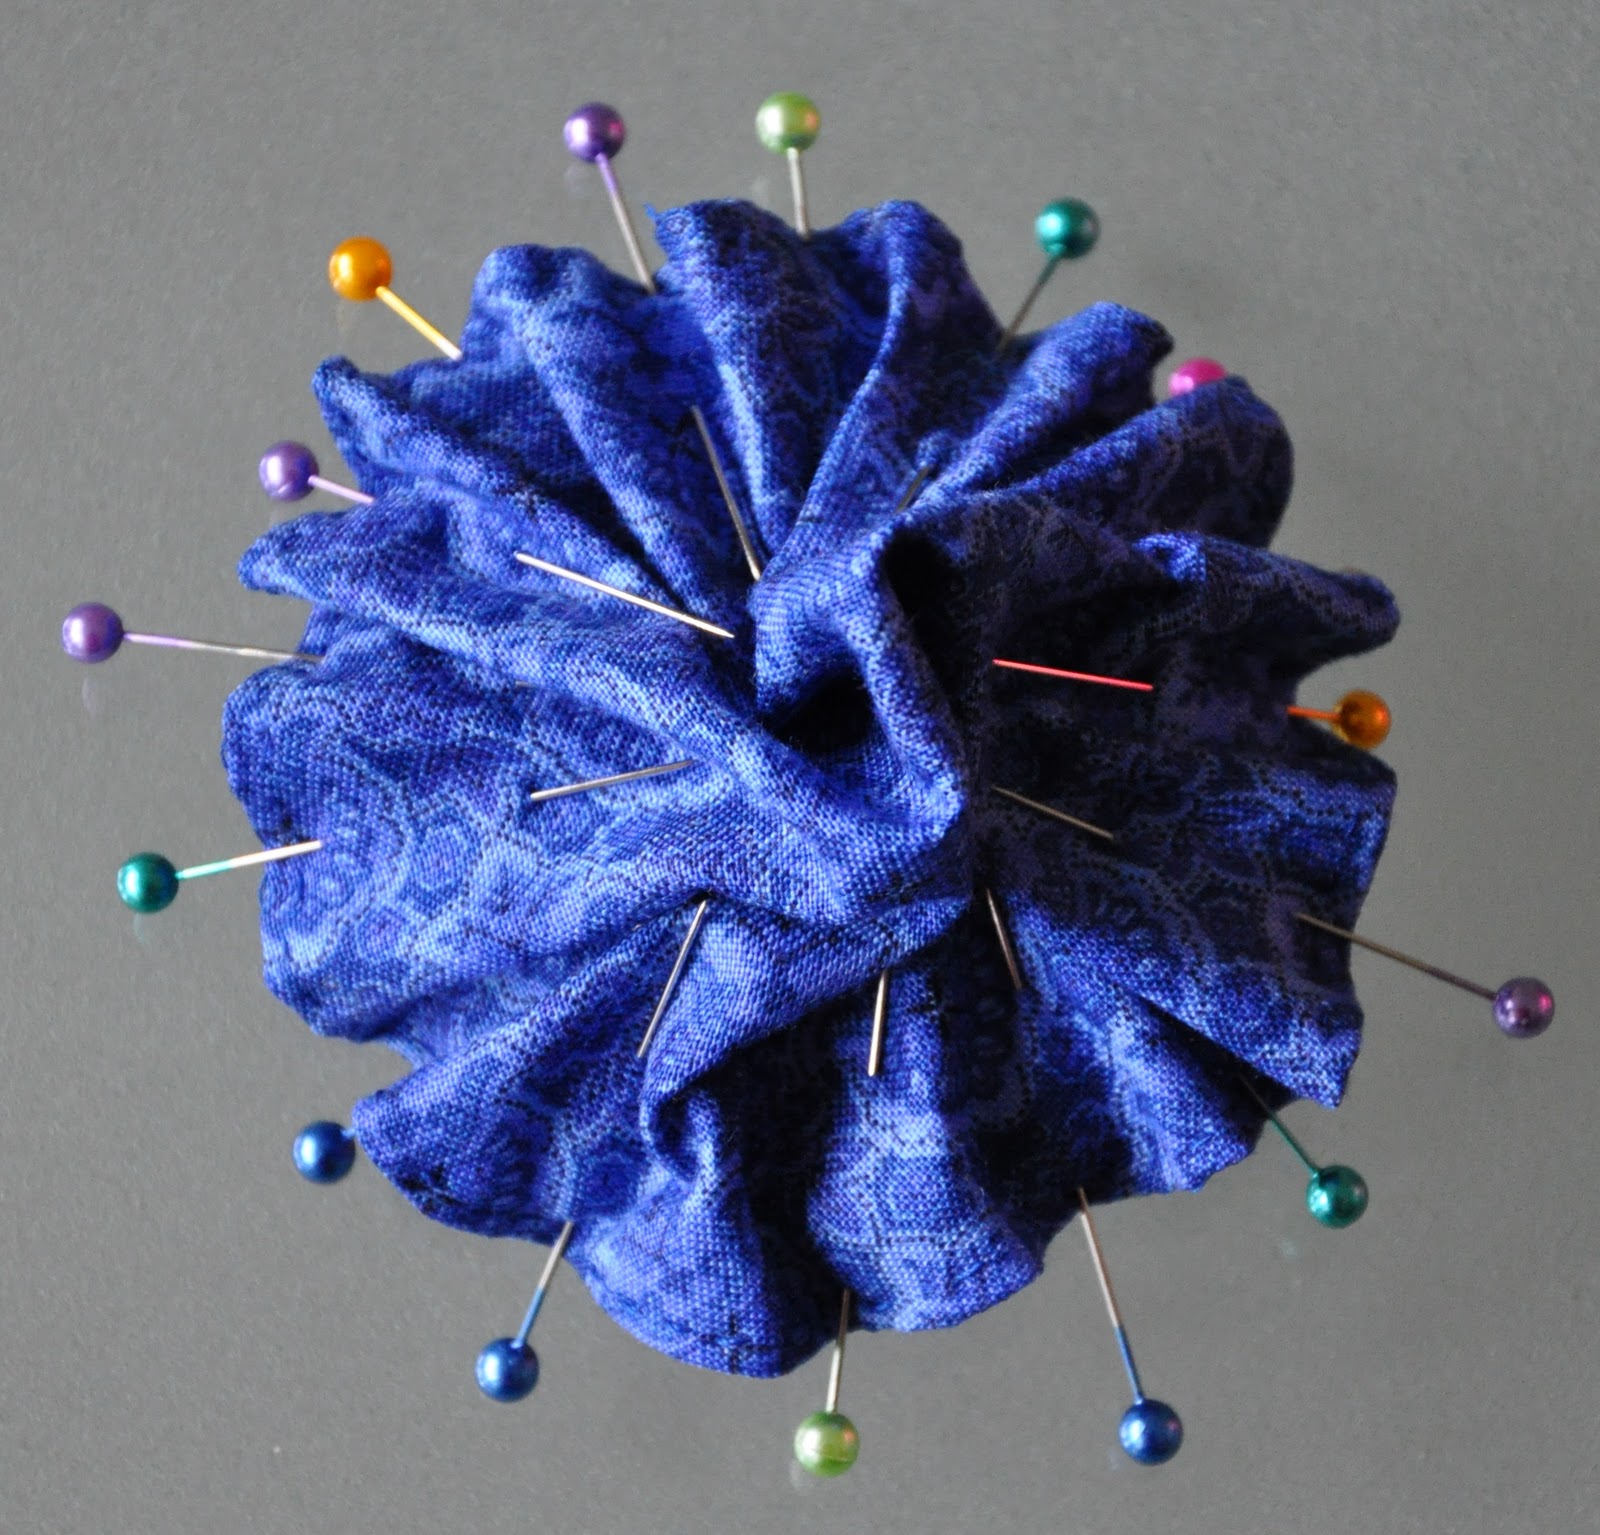
I sewed the two circles together, using a whip stitch along the edges and making little pleats from the excess fabric on the larger circle. I left a little space un-stitched so that I could stuff my pin cushion.

I filled the pin cushion with fibre fill, stuffing it pretty tightly, and then stitched the open edge shut. The finished pin cushion looked like this:


Then I put the pin cushion on top of the glue, taking care to tuck the stitched edge of the cushion under the rim of the lid all the way around.


I took the paper off the tin again, cut along the folded line, and then covered the back of the paper with glue from a glue stick. Once the glue was on the paper, I wrapped the paper back around the tin, using my fingers to smooth out any air bubbles.

Once the tin was covered with paper, I added some embellishments. I cut a quote ("Constant use will not wear ragged the fabric of true friendship") from a vellum quote stack and glued it onto the tin with my glue stick. It was transparent enough that the pattern of the paper behind it still shows through. Then I threaded some thin ribbon through a couple of heart shaped buttons, knotted the ribbon and trimmed off the excess. I used glue dots to attach the buttons to the tin.

I filled my mending tin with some supplies and tools that I bought at the dollar store, together with a little plastic box (another container I'd saved) filled with some snaps, buttons, straight pins and a couple of needle threaders.

This little mending kit is small enough to fit in a desk drawer or a suitcase. It would make a useful and thoughtful holiday gift.
___________________________________________
This project was linked to Tip Junkie's Tip Me Tuesday and to Salvaged Sunday hosted by Getting Freedom from Debt.


10 comments:
This is an adorable idea! I love finding new ways to extend the life of items that might otherwise end up in the trash bin.
Thanks Alea. It was fun to make. :)
I love this idea! It would make a great gift for a college student or a young adult moving into their first apartment. A friend of mine is doing something similar with pint canning jars.
Thanks Barb. :) I appreciate the canning jar suggestion. It's particularly timely because I found some antique canning jars at a thrift store last week.
I LOVE this! I have many containers in my arsenal {like you I have a very hard time throwing them away!} that would work perfectly for this. Thank you for sharing and linking it up to Salvaged Sunday! Hope you'll come back and share more projects! :)
Thanks Phoebe. I'm glad you like it. I'm sure I'll be back another day. :)
I love this ideas, I will be on the lookout for a tea caddy like that for sure. Thanks for all your helpful tips and recipes, I love reading your blog.
Thank you Sherrie. I'm glad you liked the project and so happy to hear that you enjoy reading my blog. I appreciate you taking the time to comment.
LOL that brings back memories!! My Mom used to do that - she was so creative and thrifty too!
Good for your mom, Gwen. :) These kinds of projects are good fun, and folks are glad to receive such thoughtful gifts.
Post a Comment