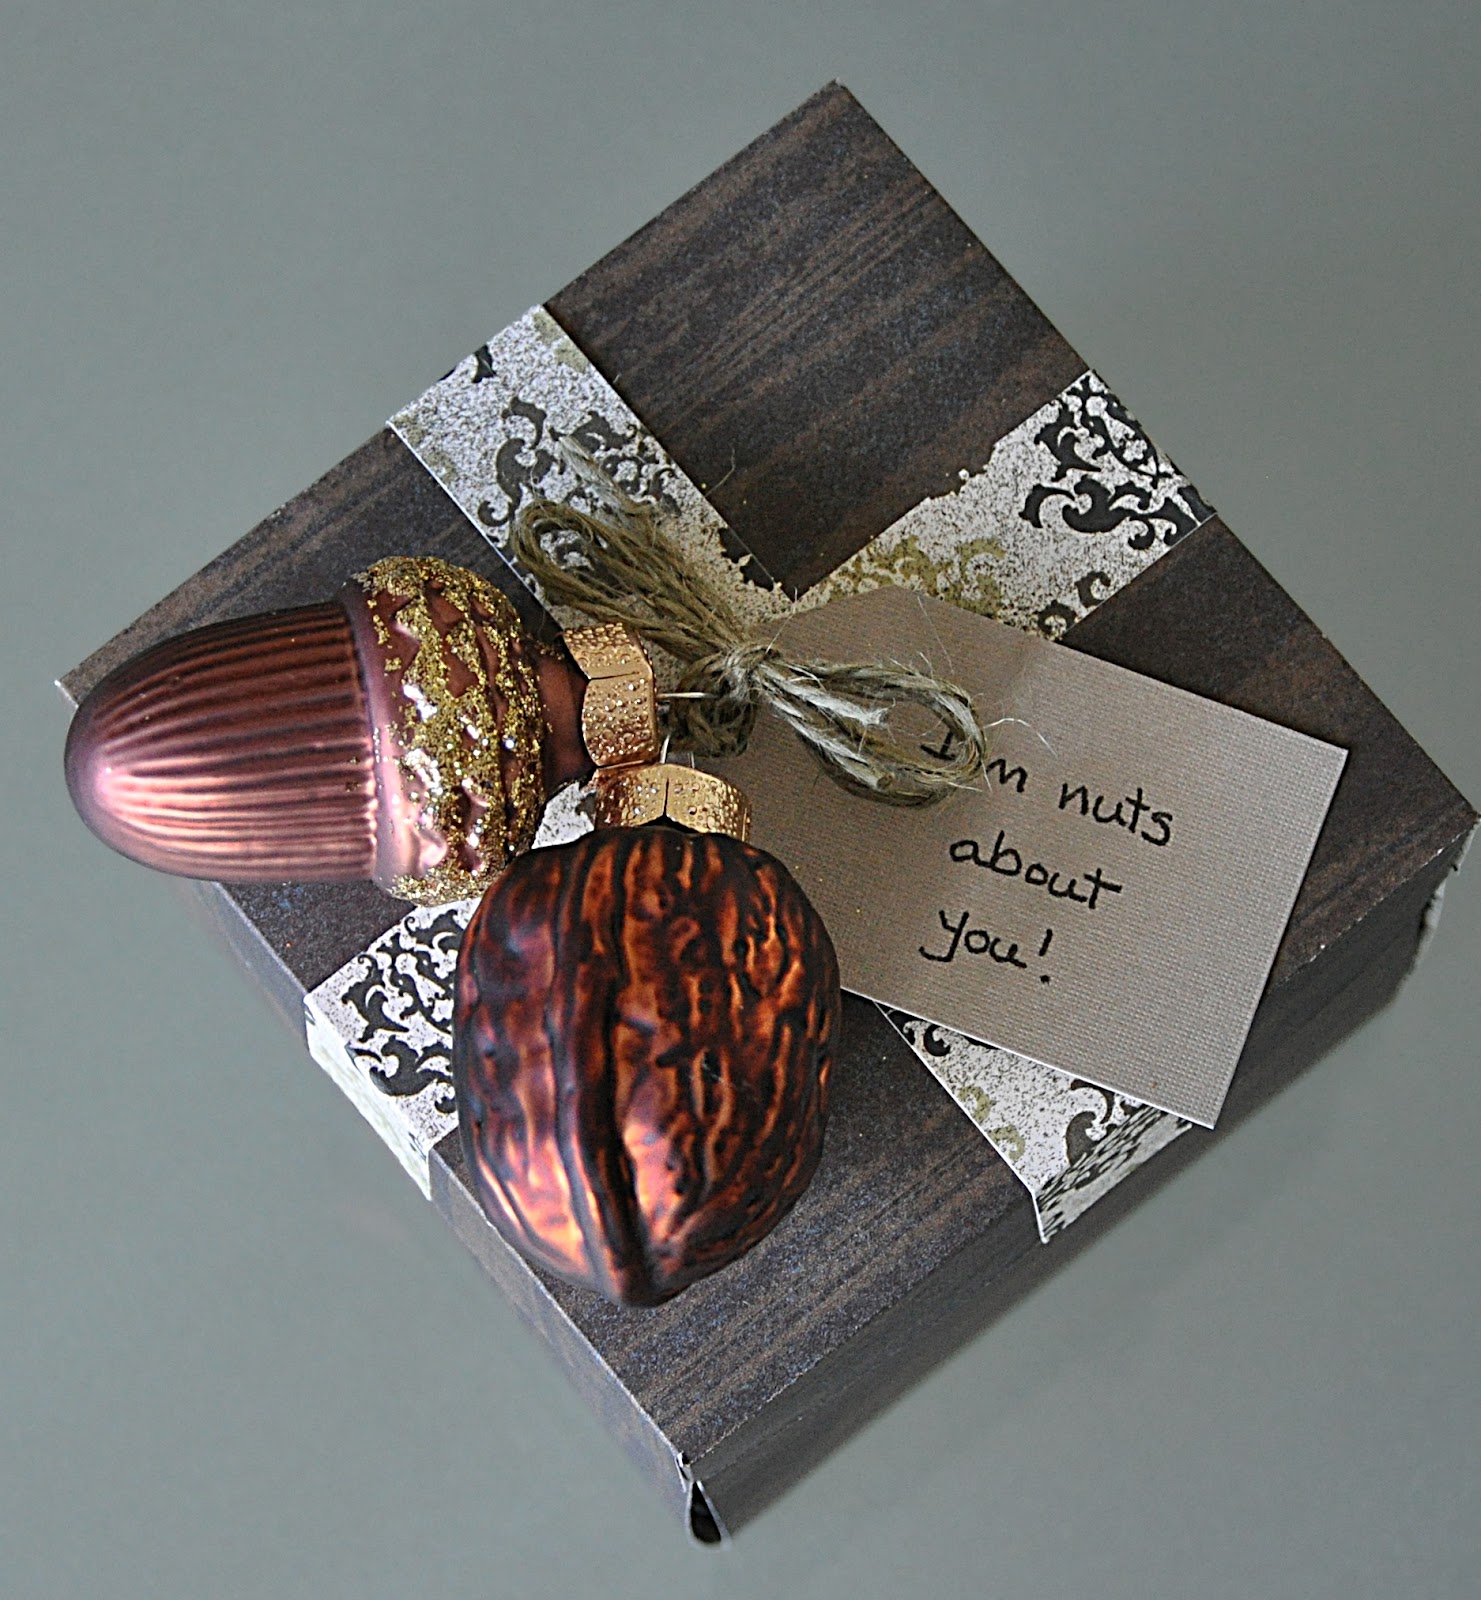
We used to make a big thing about holidays. From New Years right through to Christmas, we celebrated them all. We decorated the house, sent cards to our loved ones, made special meals. If a holiday didn't present itself, we'd celebrate the season, with a new wreath on the door and new plants in the pots by the front door.
Then things changed. We had a number of hard years, financially, and - just when we were getting back on our feet - I got sick. It's been a challenge to make ends meet and, in the process of providing for necessities, holiday celebrations fell by the wayside.
It's been interesting to me. I've learned just which traditions mean the most to us, and why.
You won't find a Valentine's wreath on our door, or heart strewn banners or bunting in our home, but - perhaps surprisingly - we do still make a special occasion of Valentine's Day.
After so many years together, with the challenges that recent years have brought our way, my husband and I have come to value each other more deeply than ever. We appreciate the opportunity Valentines Day affords us to celebrate our good fortune in finding, and keeping, each other.
Our Valentine's celebration is usually a homemade affair and, with Valentine's Day less than a month away, I've been giving this year's projects some thought.
There's so much great inspiration out there!
Here are some ideas that have caught my fancy.
I made this photo box for my husband a while ago. It's a lovely way to share happy memories with a loved one, and you can easily adapt the colours and motif to suit your personal taste.
I haven't decided on a card yet, but this 3-D valentine from The Creative Place is awfully cute. It folds flat, too, so there would be no extra postage required should you wish to send it in the mail.
I want to make these bacon hearts from The Paper Mama for my fella on Valentines Day morning. I know my guy'll will be delighted by them.
I might even serve this egg in a basket from Reclaiming Provincial along with the bacon.
I'll leave my guy a couple of his favourite chocolate bars on Valentines Day, hidden somewhere for him to discover while I'm at the office for the day. These chocolate bar wrappers from Jeanne Winters Inspiring Ideas will give him a chuckle.
Valentine's Day dinner is usually a co-operative effort at our house. My fella cooks the protein (often steak, which is another huge treat for both of us) and I prepare the vegetables and dessert. I think that these little heart shaped roast potatoes from Haniela's; from my kitchen to yours will make an excellent side dish.
Of course, it wouldn't be Valentine's Day dinner without some sort of chocolate dessert. I'm going to make Hammer Cookies this year. Instead of slicing rounds, I'll roll the dough out and cut heart shapes. The pretty red and white tops will make a lovely finishing note to our meal.
So, that's the plan.
How do you celebrate Valentines Day? Any special traditions at your house?
I'd love to hear about them.
Related posts:
Folded Heart Bookmark
A Valentine For Grandma
The Gift of a Letter
When I make a recipe I enjoy, I find myself looking for new ways to use it. So, when the coffee cookies I made before Christmas turned out so well, I wanted to find another way to enjoy them.
I also really liked the eggnog pudding I used in my apple and eggnog trifles.
Eggnog is on sale right now, so it seemed a good time to play mad scientist in the kitchen.
These little bites of heaven were the result.
The shells for these little tartlettes are made with the dough for my coffee cookies and they're filled eggnog pudding. I finished them with a dollop of whipped cream and a sprinkle of nutmeg.
So good!
Begin by making the shells for the tartlettes. You'll need:
- 2 Tablespoons instant coffee
- 2 Tablespoons boiling water
- 180 grams butter (when I scaled this out it came to 7 ounces - 1-3/4 sticks - of butter)
- 3/4 cup sugar
- 2 Tablespoons instant coffee
- 2 Tablespoons boiling water (not pictured)
- 2 cups flour
- 1/2 teaspoon baking powder
- 1 egg white (not pictured)
- 1 teaspoon cool water (not pictured)
- a small amount of granulated sugar for sprinkling on the cookie tops
Begin by dissolving the instant coffee into the boiling water. Set it aside and let it cool to room temperature.
While the coffee is cooling prepare a couple of mini muffin pans. Butter each muffin cup even if the pan is non-stick, otherwise you'll have a difficult time getting the baked shells out of the pan.
When the coffee has cooled, cream together the butter and sugar.
Mix the coffee into the butter and sugar until it's been completely incorporated.
In a separate bowl, mix together the flour and baking powder.
Add the flour mixture to the coffee/butter/sugar mixture and stir to make a stiff dough. (I ended up kneading it a three or four times in order to get all of the flour to absorb.
When the dough is prepared press it into the individual cups in the mini muffin pan, forcing it up the sides of the cup and making fairly thick walls. Don't worry about perfection here. You're only going to see the outside walls of the tartlette shells. The rest will be filled or covered up.
Bake the tartlette shells in a 350F oven for about 15 minutes, just as you would bake cookies. They'll puff up a little bit. It's okay, the thicker walls will help the shells hold together when you remove them from the pan.
Allow the shells to cool completely in the pan before removing them for filling.
While the tartlette shells are cooling, make the filling and topping. You'll need:
- 2 cups of ready made eggnog
- 2 Tablespoons cornstarch
- 1/4 teaspoon nutmeg
- 1 cup whipping cream
- 2 teaspoons extra fine sugar
- 1/2 teaspoon vanilla extract
- a little nutmeg for garnish
Whisk the eggnog, cornstarch, and 1/4 teaspoon nutmeg together in a small saucepan. Stir them over medium-low heat until the pudding comes to a boil and thickens.
As soon as the pudding thickens, remove it from the heat.
Cover the pudding with plastic wrap, making sure that the plastic was sitting right on the surface of the pudding (this prevents a skin from forming). Set it aside to cool to room temperature.
When both the shells and the filling are cooled, it's time to assemble the tartlettes:
Spoon or pipe a little of the filling into each shell. Fill only as many shells as you are likely to use in a single sitting.
Put the filled tarts in the fridge until they're chilled through. Store the rest of the shells in a cookie tin until you're ready to serve them.
When the tarts are chilled through and you're ready to serve them, whip the cream until it forms soft peaks.
Add in the extra fine sugar and vanilla extract and continue whipping until the cream holds stiff peaks.
Pipe some whipped cream onto the top of each filled tartlette. Garnish each one with a little sprinkle of nutmeg.
Enjoy your eggnog latte tartlettes with a good cup of coffee, or package them up on a pretty plate and give them as a gift.
These cookies came to be a couple of years ago because I looking for a way to us up the bits and bobs left over from my Christmas baking. I had a little mincemeat left over, a few glace cherries, and some walnuts, so I decided to mix them into one of my go-to cookie doughs.
The finished cookies had a good flavour but they were very plain and not overly sweet. I filled the cookie jar without saying anything at all about them, not optimistic that Himself the Elf would eat them.
Much to my surprise, the cookies "evaporated" from the jar at a rapid clip and, when Christmas rolled around the following year, my fella requested that I bake them again. They're now a regular part of my Christmas baking routine.
To make Christmas Jumble Cookies, you'll need:
- 1/2 cup butter
- 3/4 cup sugar
- 1 egg
- 1/2 teaspoon vanilla extract
- 1/2 cup mincemeat
- 1-3/4 cups flour
- 1/4 teaspoon baking soda
- 1/2 cups glace cherries, cut in quarters
- 1/2 cups chopped walnuts
Cream together the butter and sugar.
Beat the egg and vanilla together. Mix them into the butter and sugar along with the mincemeat.
Stir together the flour and baking soda.
Add in the glace cherries and walnuts. The cherries will want to cling together in a big clump. Use your hands to work them apart and toss them through the flour so that each piece is coated.
Add the flour mixture to the butter mixture and stir them together until all the flour is moistened and a firm dough is formed.
Scoop the cookie dough onto parchment lined cookie sheets, making 1-1/2 inch balls and spacing them about 2 inches apart.
Dampen your fingers with a little water and then press each cookie to flatten it. The cookies should be about 1/3 inch thick.
Bake the cookies at 350F for 12 to 15 minutes, until the edges are lightly browned.
(Insert embarrassed blush here. I just realized I forgot to take a picture of the cookies after they came out of the oven. Oops!)
Cool the cookies on racks and store them in an airtight container.
Both the unbaked dough and the baked cookies freeze very well. If you form the unbaked dough into cylinders and refrigerate it, then slice it to make thinner, flatter cookies, they make excellent cookie sandwiches. You can fill them with plain buttercream frosting or with the orange and cream cheese frosting I used on my Cranberry Spice Bars.
I'm not big on "healthifying" desserts. I make my desserts with the best ingredients I an afford and, because they are splurge-worthy, I enjoy them for what they are. I'd rather have a small serving of a really good dessert every once in a while than eat more servings of a not-so-tasty but healthier dish.
I believe that treats are called treats for a reason: They're meant to be enjoyed.
My friend Colleen is much more inclined to look for healthy ingredients in her desserts than I am, and she introduced this cake to me. When I read the ingredients list, I was skeptical. It's an amazing cake though.
Deep flavour + moist crumbly texture + a little bite from the oats = crazy good.
To make Oat Rich Chocolate Cake, you'll need:
- 1/2 cup large flake rolled oats
- 1/2 cup vegetable oil
- 1-1/2 cups loosely packed brown sugar
- 1 cup boiling water
- 1 cup whole wheat flour
- 5 Tablespoons cocoa powder (I used Frys)
- 1 teaspoon baking soda
- 1 teaspoon baking powder
- 1/4 teaspoon salt
- 2 large eggs, beaten
- 1 teaspoon vanilla extract
- about 1 cup of jam or jelly (I used cranberry/red wine jelly but rapsberry, blackberry or apricot would be good too)
- icing sugar for dusting
Combine the oats, oil, and brown sugar in a large mixing bowl. Add the boiling water and stir to combine.
Allow the oat mixture to rest for 15 minutes.
While the oat mixture is cooling, prepare the pan.
Butter an 8-inch square pan.
Cut a strip of parchment about 8 inches by 12 and press it into the pan, smoothing it so that the paper sits snug with the bottom of the pan and two of the sides.
Some of the paper will extend above the pan. You'll use it as handles to lift the cake out later on.
Whisk the flour, cocoa powder, baking soda, baking powder, and salt together in a separate bowl.
Once the oatmeal mixture has rested for 15 minutes, add in the eggs and vanilla extract and stir them in.
Add in the flour mixture and stir until there are no dry bits remaining.
Turn the batter into the prepared pan. It's not a firm batter. It will look fairly liquid.
Bake the cake on the middle rack of a 350F oven for 40 to 45 minutes. The cake is done when it springs back when the center is lightly touched.
Allow the cake to cool in the pan.
When the cake is completely cooled, use the parchment to lift it out of the pan.
Place the cake on your serving platter and slice it in half horizontally.
Place the top half of the cake, topside-down, on a plate so that it can be inverted back into place.
(Trust me. You want to make sure the cake pieces are supported when you move them. It's very crumbly and will likely fall apart if you handle it too much.)
Spread the bottom half of the cake with jam or jelly.
Invert the top half of the cake back onto the filling, cut side down.
If the cake top breaks as you put it back in place, don't panic. Just piece it back together and top it with some whipped cream to hide the damage.
If the cake is intact, simply dust it with icing sugar.
Use the cake within three days, or freeze the leftovers.
_________________________________
This recipe came from the Times Colonist newspaper, published in Victoria, BC, Canada. I'm not sure of the date of publication but I do know that it was written by Eric Akis.
Here I am sharing another riff on a Marion Cunningham recipe; this one Raisin Bars from The Fanny Farmer Baking Book.
Ms. Cunningham's recipe calls for raisins and an orange glaze. My recipe is made with dried cranberries and topped with an orange cream cheese frosting. Those are really the only changes I made. The recipe was already beautifully spiced. I just made it a little more seasonal.
These are very, very good.
To make Cranberry Spice Bars, you'll need:
- 2 cups dried cranberries, coarsely chopped
- 1 cup water
- 1/4 cup butter, cut into pieces
- 1/4 cup vegetable oil
- 1 egg
- 1 cup brown sugar, loosely packed
- 1-3/4 cups flour
- 1/2 teaspoon salt
- 1 teaspoon baking soda
- 1 teaspoon cinnamon
- 1 teaspoon ground cloves
- 1 teaspoon ground allspice
- 1 teaspoon nutmeg
- 1 cup chopped walnuts
To make the Orange Cream Cheese Frosting, you'll need:
- 4 ounces cream cheese, cut in pieces, at room temperature
- 4 ounces butter, cut in pieces, at room temperature
- the zest and juice of 1 medium sized navel orange
- icing (confectioners) sugar
Put the cranberries and water in a saucepan and bring them to a boil.
Remove the pan from the heat and stir in the butter and oil until the butter is melted.
Allow the cranberries to cool to lukewarm.
Beat the egg and add it to the cranberries, together with the brown sugar. Stir until the sugar is incorporated.
Sift together the flour, salt, baking soda, cinnamon, ground cloves, ground allspice, and nutmeg.
Stir the flour mixture into the cranberry mixture. Mix in the walnuts.
Spread the batter in a buttered or oiled 9 x 13 inch pan.
Bake the bar at 350F.
Ms Cunningham's recipe says this bar should bake in 20 minutes. I find it takes nearer to 40. The bars are done when a pick is inserted into the center and comes out clean.
Allow the bars to cool in the pan until they reach room temperature.
When the cranberry spice bars have cooled completely, make the frosting.
Beat the butter and cream cheese together until they're completely blended and light in texture.
Add in the orange zest and about half the orange juice.
Add in the sugar a couple of cups at a time until the frosting is a texture and flavour that pleases you. If you need to thin the frosting, use the reserved orange juice.
Spread the frosting over the cranberry spice bars in the pan.
Allow the bars to rest until the icing has set up a bit, maybe a couple of hours, then score it and cut it.
Store your cranberry spice bars in their baking pan, covered snugly with plastic wrap. The bars can be frozen too.
This is a recipe from The Fanny Farmer Cookbook by Marion Cunningham. Like many of the recipes I revisit over and over again, it's very simple to make and uses ingredients I almost always have on hand.
Brown sugar is the predominant flavour in lace cookies, much as it is with pralines. They're more a candy than a cookie really; a special treat at our house, served for dessert on occasions when I need something that I can make ahead.
Because they are so delicate, lace cookies tend to break apart as you layer them in the cookie tin. I bake them the day I need them and make just the quantity I need; no more. I freeze any extra unbaked cookie batter, and store the finished cookies in a single layer, on platters or cookie sheets covered with plastic wrap.
To make Lace Cookies you'll need:
- 1-1/2 cups uncooked oatmeal (not instant)
- 1-1/2 cups light brown sugar, loosely packed
- 2 Tablespoons flour
- 1/2 teaspoon salt
- 2/3 cup melted butter
- 1 egg
- 1/2 teaspoon vanilla
Mix the oatmeal, brown sugar, flour and salt together.
Add in the melted butter and stir it through, as if you were making a crumble topping for a fruit crisp.
Beat the egg and vanilla together.
Add them to the oatmeal mixture and stir until they're mixed through.
Portion the cookie mixture out onto a parchment lined cookie sheet. Use a small amount of dough and make sure there's at least 2 inches space between each cookie.
(I used a scoop that portions out about 1/2 teaspoon quantities. The dough is crumbly. You may have to gather up a few bits after you scoop the cookies and press them back into the portion.)
Bake the cookies until they're lightly browned. This will happen quite quickly. Mine took about 7 minutes.
Allow the cookies to cool completely on the cookie sheet.
If you wish to, you can drizzle some melted chocolate over the cooled cookies.
I recently came across instructions for melting chocolate in a freezer bag and then using it like an icing pipe. I wish I could tell you where I saw it but I didn't bookmark it and now can't find them again.
Anyway...The instructions said to chop the chocolate up, put it in the bag and zip it closed.
Place the bag in the microwave and heat the chocolate until it's about halfway melted.
Use your fingers to work the chocolate around in the bag until the unmelted pieces have melted too.
Cut one corner off the bottom of the bag and squeeze the chocolate out onto the cookies.
It looked simple enough but I missed one little piece of unmelted chocolate. It formed a plug in the opening I'd cut. When it worked its way out it was followed by a big blob of melted chocolate, all of which landed in the center of the first cookie.
Once the unmelted piece was out of the way, the chocolate came out fairly easily. I just drizzled it randomly all over the place.
It worked okay but I didn't much care for the untidiness.
Next time I'll do what we used to do at the bakery: Melt the chocolate in a small, wide bowl, dip my four fingers into the chocolate and then drizzle the chocolate off my fingers as I move my hand fairly rapidly back and forth over each cookie. It sounds messy but it's very quick and it works consistently well. That's how they get the nice evenly spaced drizzles you so often see on professional baked goods.
Or you could drizzle the chocolate from a spoon. Whatever works best for you.
Once the chocolate has hardened, the cookies are ready to serve.